Installation with VMware ESX / vSphere
This chapter is intended to outline the steps required to install the Business Bot Platform within VMware ESX vSphere.
The following steps must be performed:
-
Go to the Citunius Service Portal, click on VMware and download the file
BBP.<Edition>.<Release>-<Fixpack>.ova.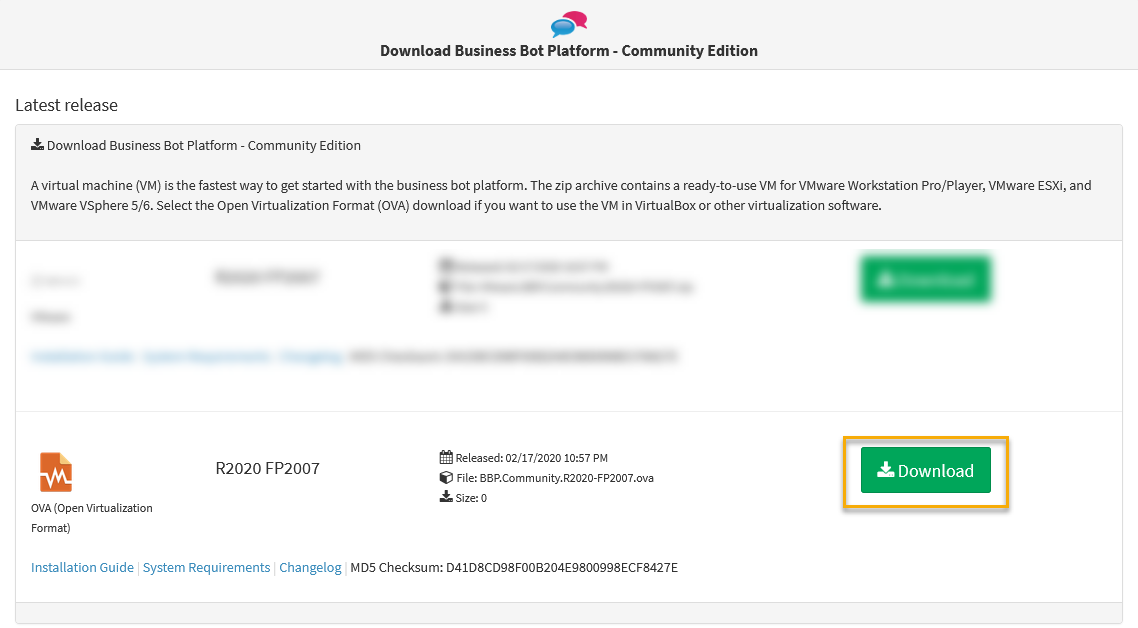
-
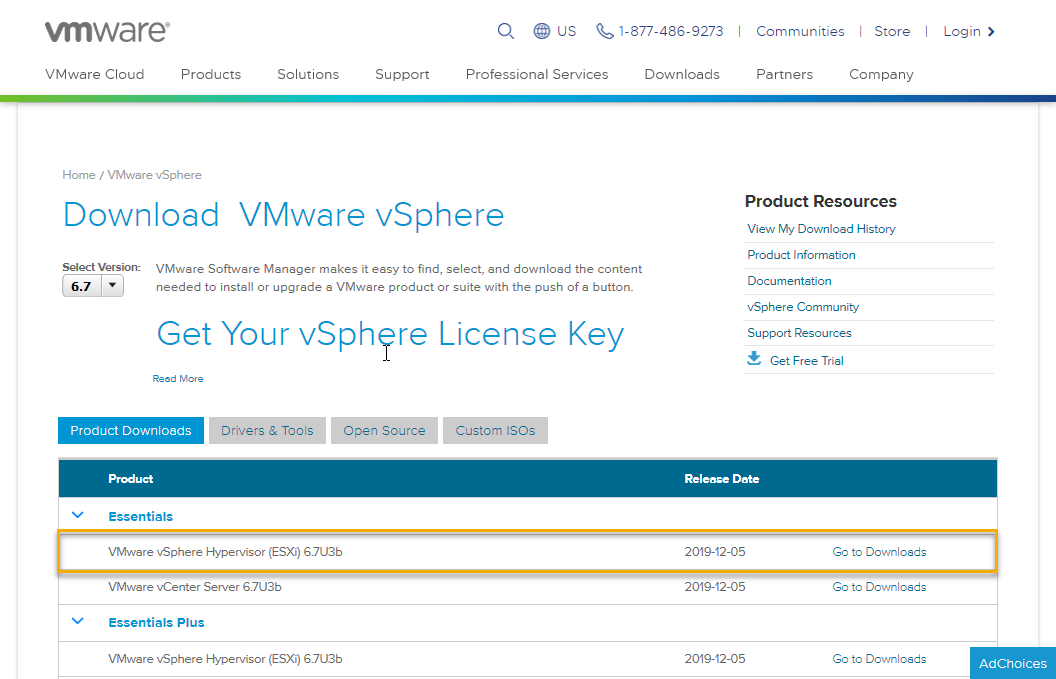
Now download the Download VMware vSphere. Why? The virtual machine with the Business Bot Platform runs natively on Linux. Since you want to use the Business Bot Platform provided as Virtual Machine, you need a virtualization software. VMware ESX vSphere is a virtualization software that does the work of completing your installation. The link will take you to the VMware website. Here you can download the virtualization software VMware ESX vSphere.
-
You can download either the ISO or the ZIP file, depending on your preference. Under VMware vSphere Hypervisor (ESXi ISO) image (Includes VMware Tools), click
Download Now.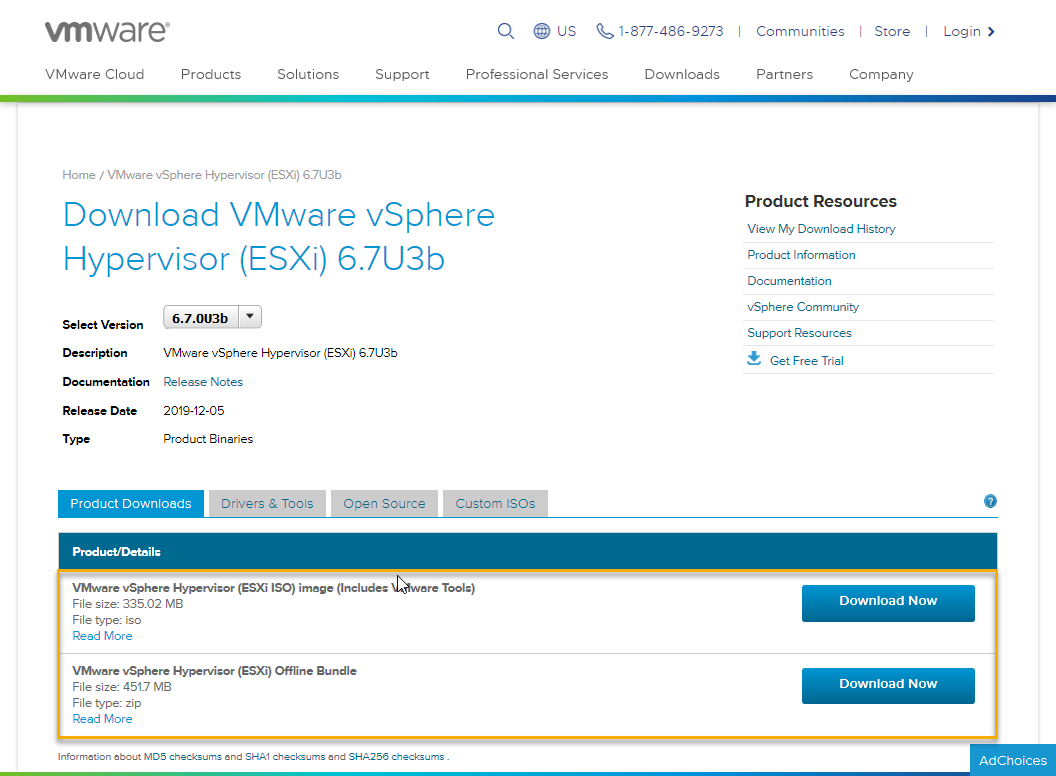
-
Enter your information to begin downloading vSphere. When you are finished, click
Next. An email will be sent to the address you provided. Complete the process by clicking theActivate Nowbutton in your email. On the next page, enter your password and clickNext. After you have completed the setup, open the Web browser and go to the ESX Server Web address. For example, the web address ishttps://192.168.1.80/. After login, you will see the ESX Server host dashboard.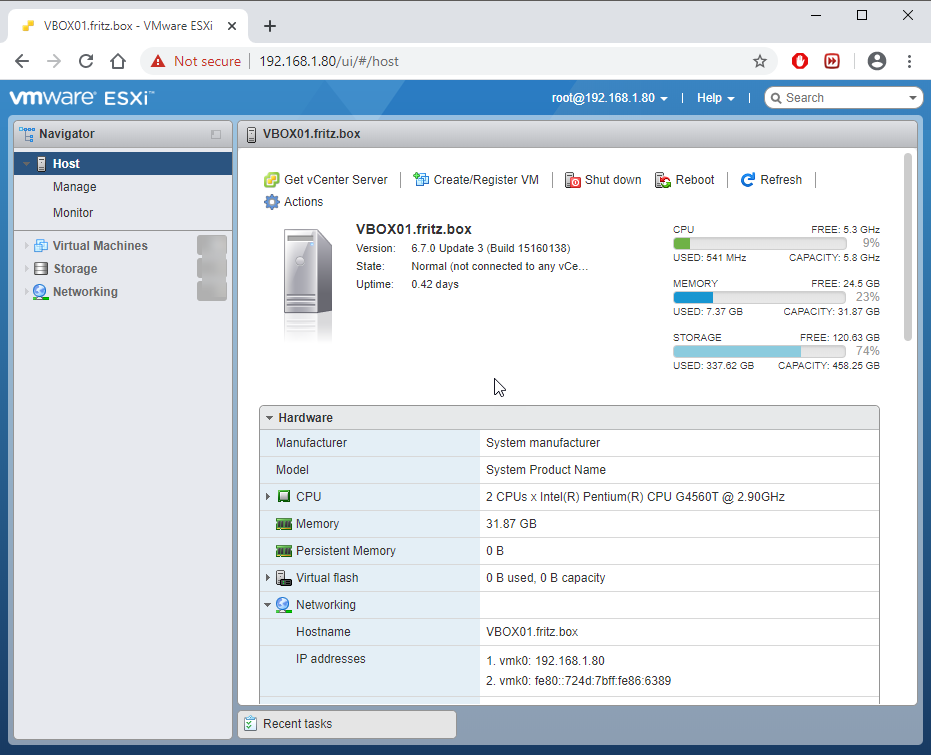
-
Click on
Virtual Machines, thenCreate / Register VM.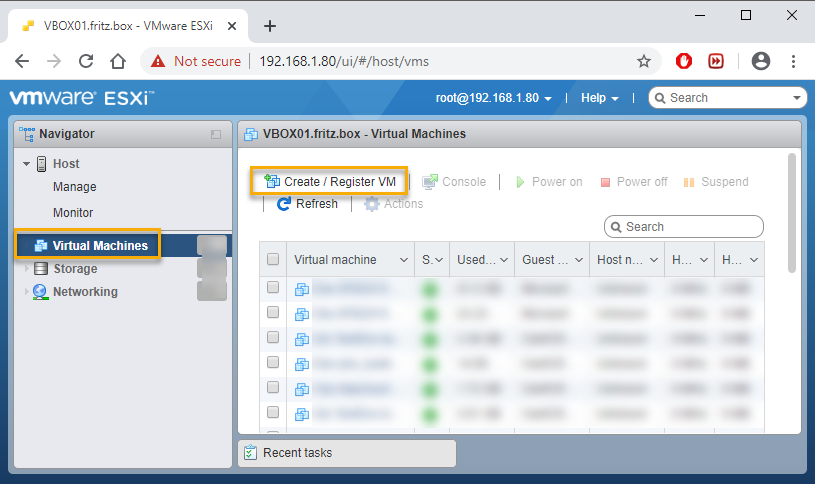
-
Now select
Deploy a virtual machine from an OVF or OVA fileand clickNext.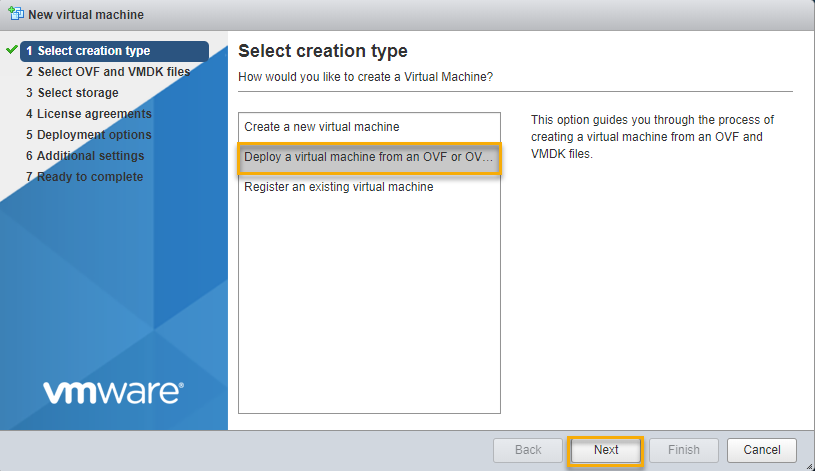
Hint
OVF templates are not only the name of the packaging format standard, but it also refers to the package when distributed as a group of files. An OVA (open virtual appliance or application) is merely a single file distribution of the same file package, stored in the TAR format.
-
Give the virtual machine a name and click the
Click to select files or drap/dropbutton to select the OVA file from your download folder. Then click theNextbutton to continue.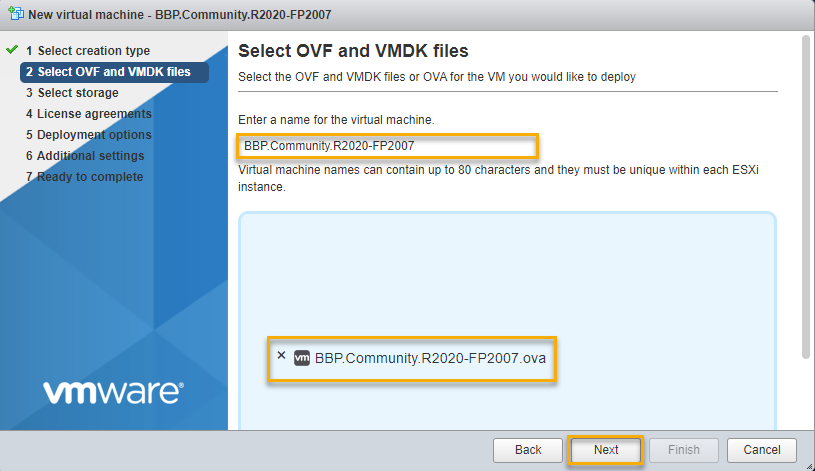
-
Select a datastore for your new VM and click
Next. In this example we have only one option. If you are using different storage devices, it is recommended that you select the device with the highest capacity.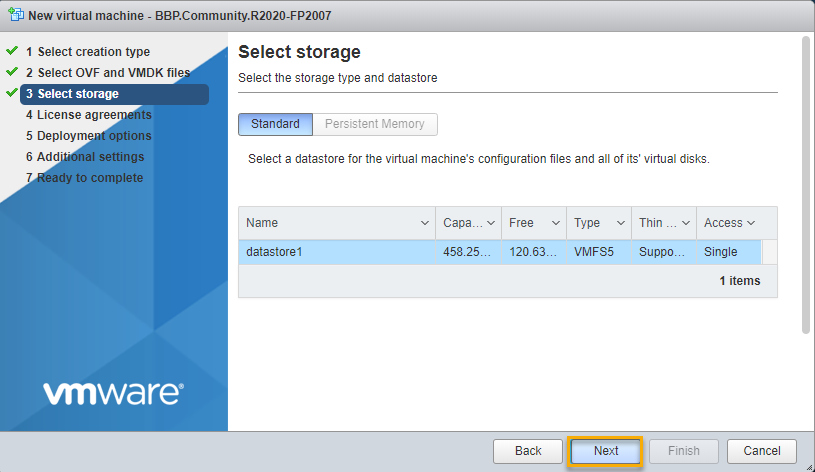
-
Select the deployment options. It is recommended that you select
Power on automaticallyto boot the VM immediately after deployment. Then click onNext.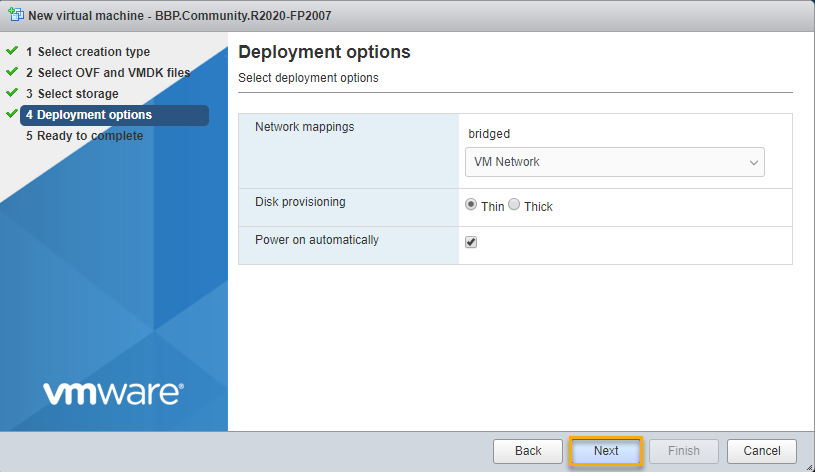
-
Finally, the selected settings are displayed again, click on
Finishto start the import.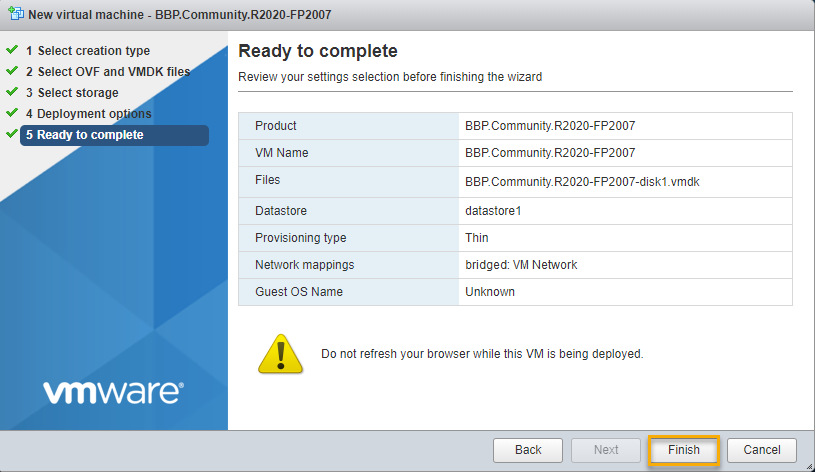
-
In panel
Recent Tasksthe import now appears as a new task.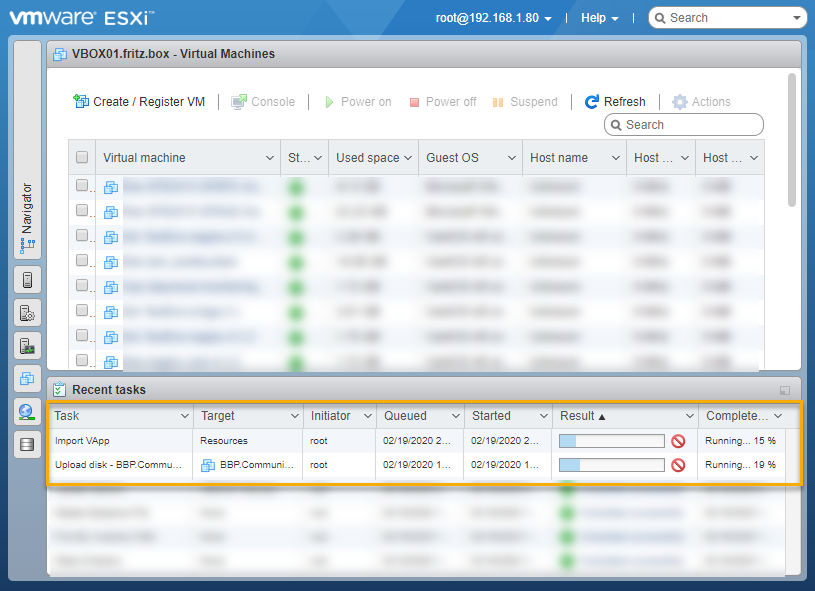
-
Now wait until the status in the
Resultcolumn showsCompleted successfully. Then click on the VM name to open the VM dashboard.
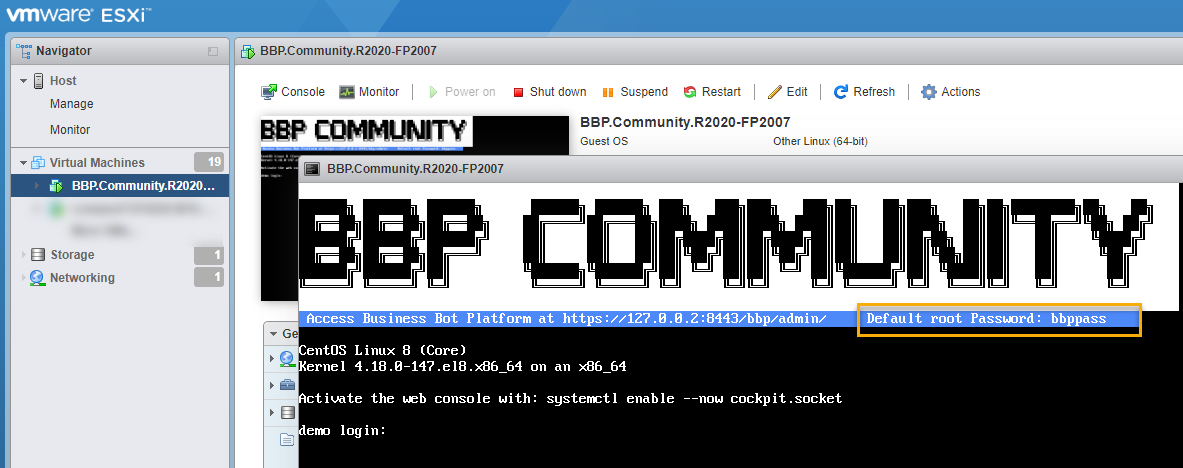
-
In the VM dashboard you will recognize that the VM is already started. Now click on the preview window to open the VM screen.
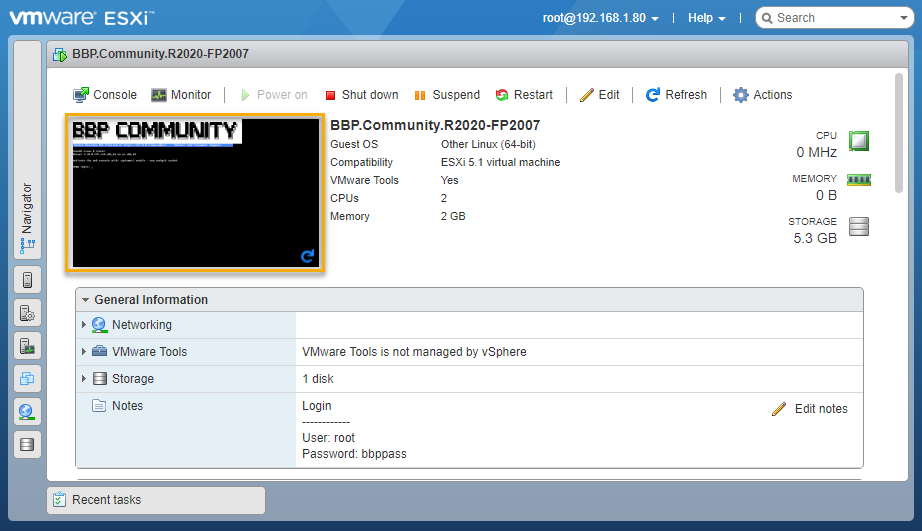
-
The final step is to login. You’ll see the login credentials highlighted here.
-
Click in the window and type
rootfor the login. PressENTERon your keyboard. Keep in mind, when in the VMware vSphere your mouse will not be visible. To release your mouse, hold downCTRL+ALT. Your mouse will then become available to you. To type back in VMware vSphere, you will first have to click the window.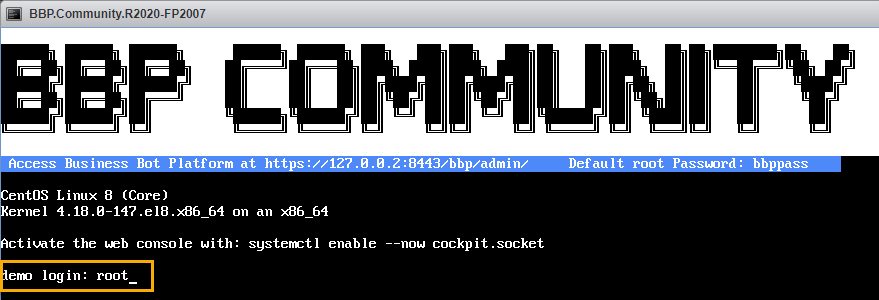
-
Type
bbppassfor the password. When typing you will not see the characters show up. When finished, pressENTERon your keyboard.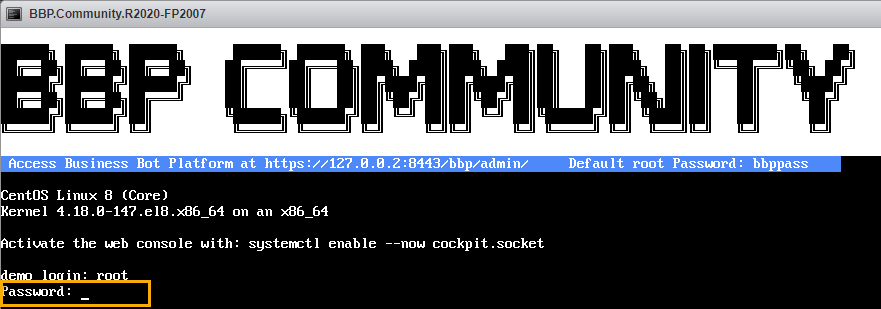
-
When you are finished, you should see the console prompt. The VM network is set to
Bridgeby default. If you want to assign a static IP address to the VM, you can configure it using thenmtuicommand.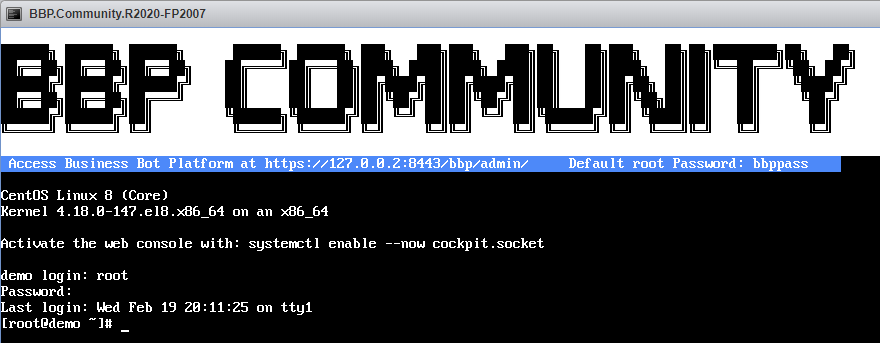
-
Open your preferred web browser. You’ll see Google Chrome here. This is where you would type in your specific IP address (can be found in the console, directly under the Business Bot Platform banner). Once you have entered the IP address in the search bar, press
ENTERon your keyboard. For example, the web address ishttps://192.168.1.1:8443/bbp/admin/, don’t forget the port. The browser will inform you that the connection is encrypted but the certificate cannot be verified, click onAdvancedand thenContinue to ... (insecure).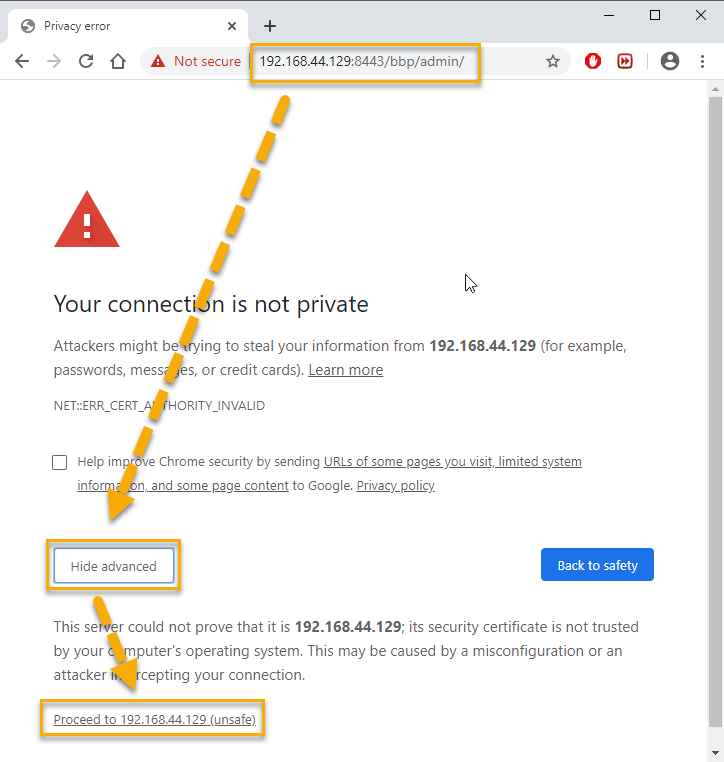
-
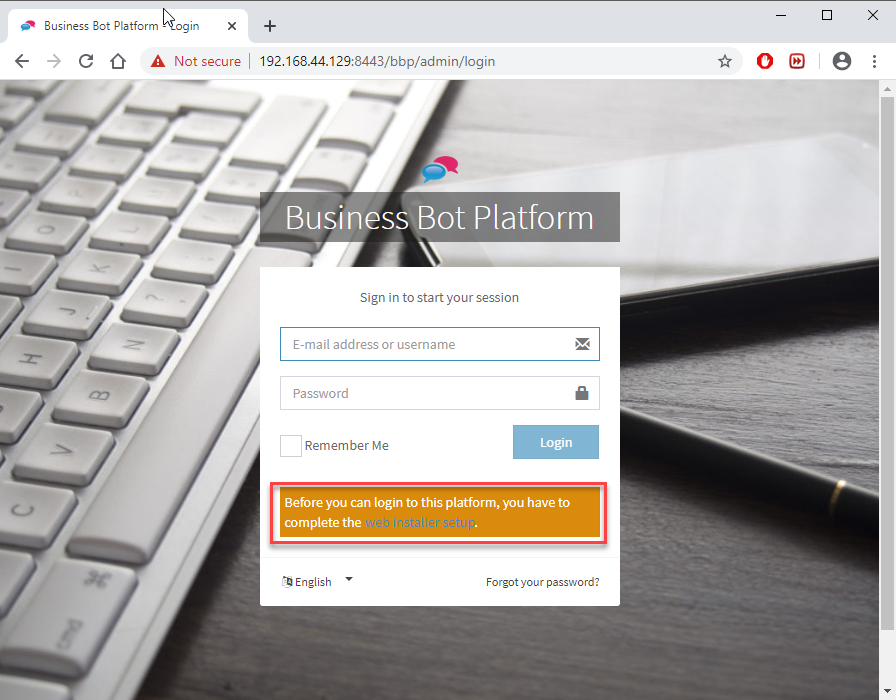
You’re now able to access the Business Bot Platform. Click the button to configure General platform settings.
-
In the next step it is necessary to perform the web setup of the Business Bot Platform. Therefore, follow chapter Web Setup of the Platform.

-
Congratulations! You have successfully installed the Business Bot Platform. Here you’ll see your login information. It will be different than you see here, depending on the configurations you made on the previous screen. It is important that you know your username and password intimately before clicking
Login. You will be prompted to log in on the following page. Insert your login credentials from the previous page (WebSetup) into the login box. The default language for the Business Bot Platform is English. If you speak another language, it will benefit you to choose that language on this page as well. ClickLogin.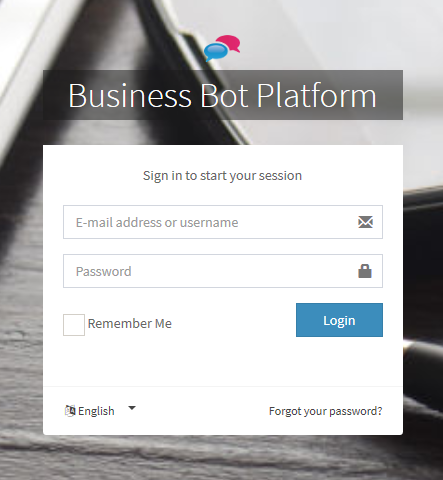
-
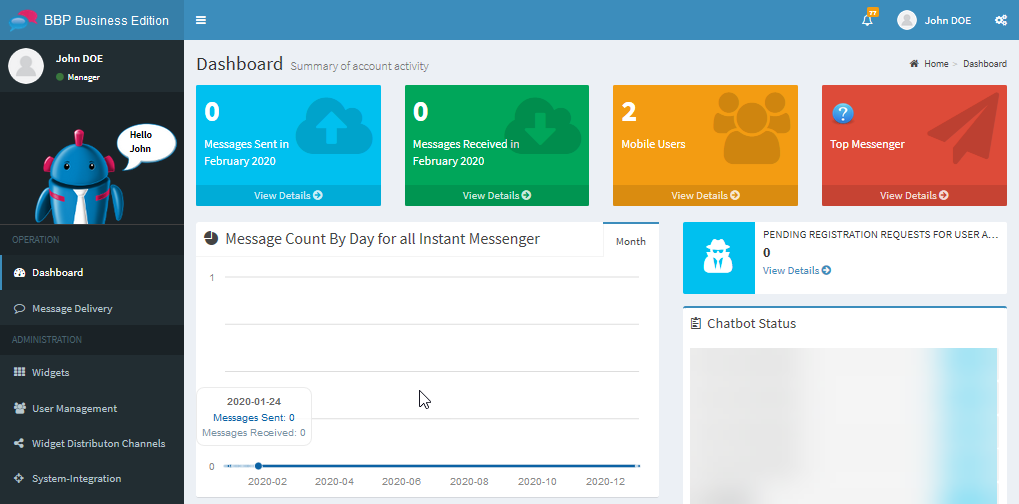
You now have access to the Dashboard of the Business Bot Platform. That’s it! You have successfully installed the Business Bot Platform and can now start adding or creating chatbots. There are some great videos and resources to help you get started with the Business Bot Platform.