Web-Setup of the Business Bot Platform
The rest of the setup of the Business Bot platform is done via the web browser. Navigate the web browser to the Web setup to start the configuration.
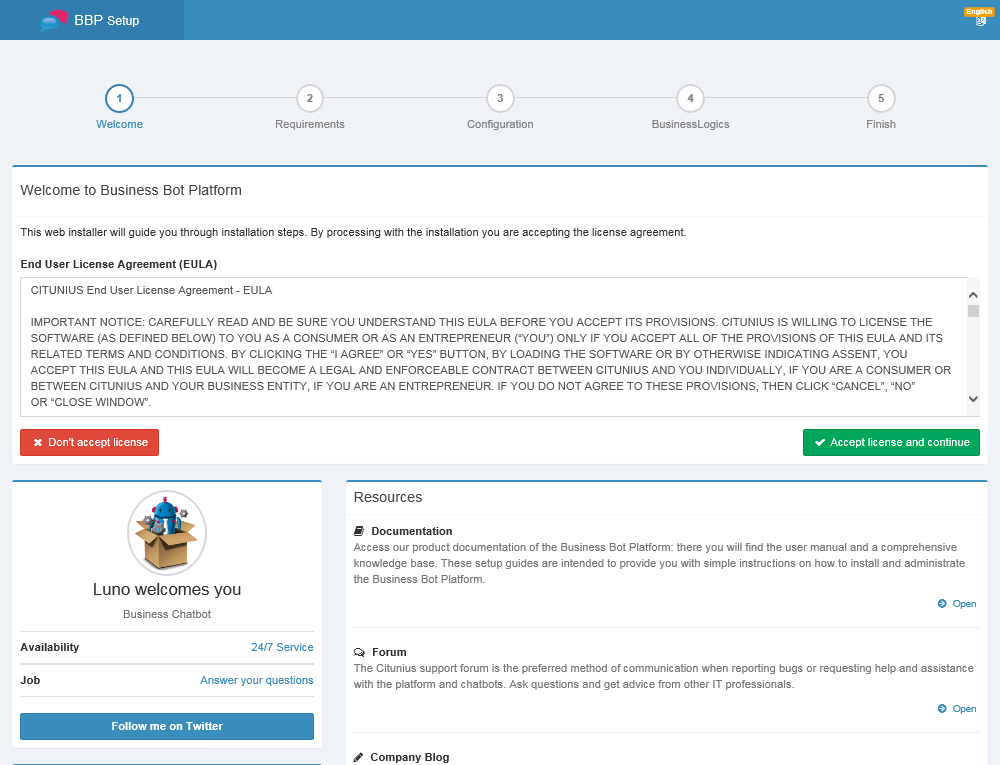
On the welcome page you will find further information as well as the
license agreement. Click on Accept license and continue if you agree
and continue with the next step.
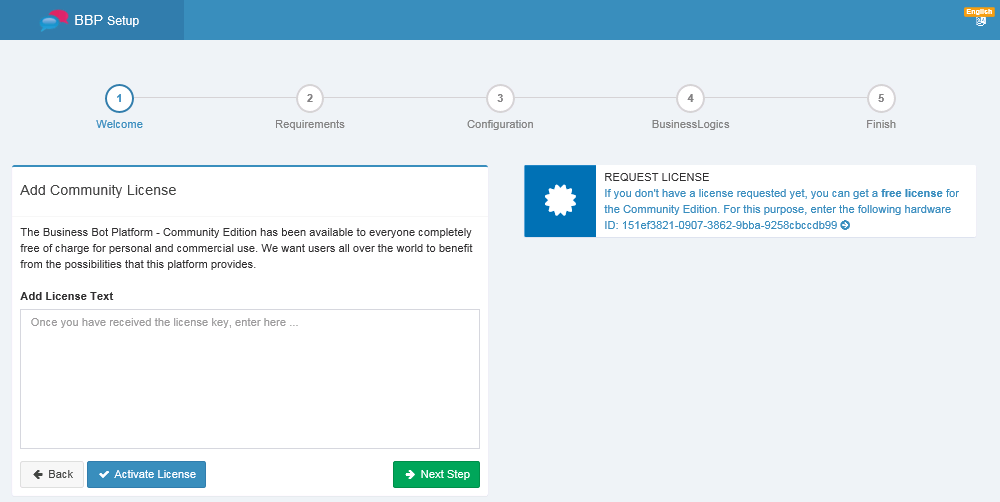
If you are installing the first time this platform, you must request a
license. You will receive a license for the Community Edition free of
charge. Once you have received the license, copy the license text into
the field and click on Activate License.
Once the license has been successfully activated, you will see the
license information.
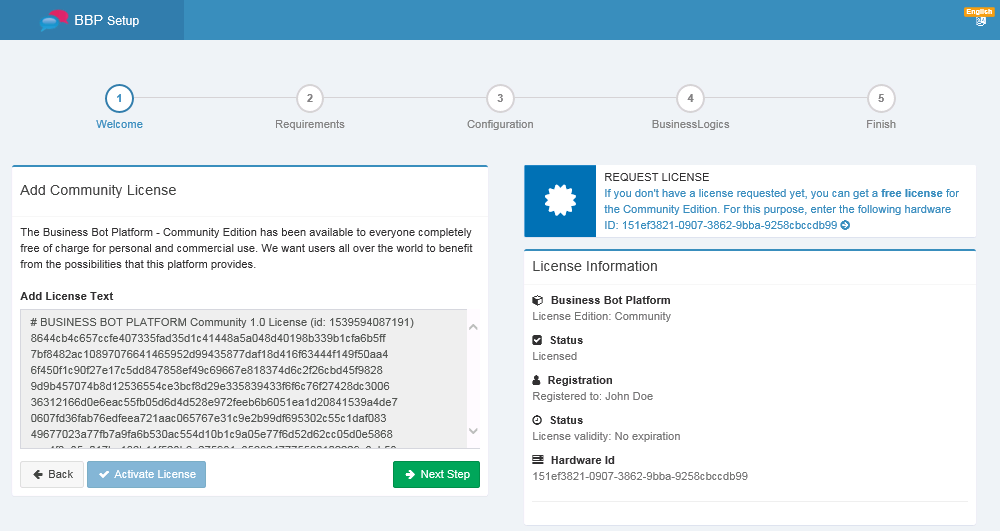
Now click on Next Step to continue.
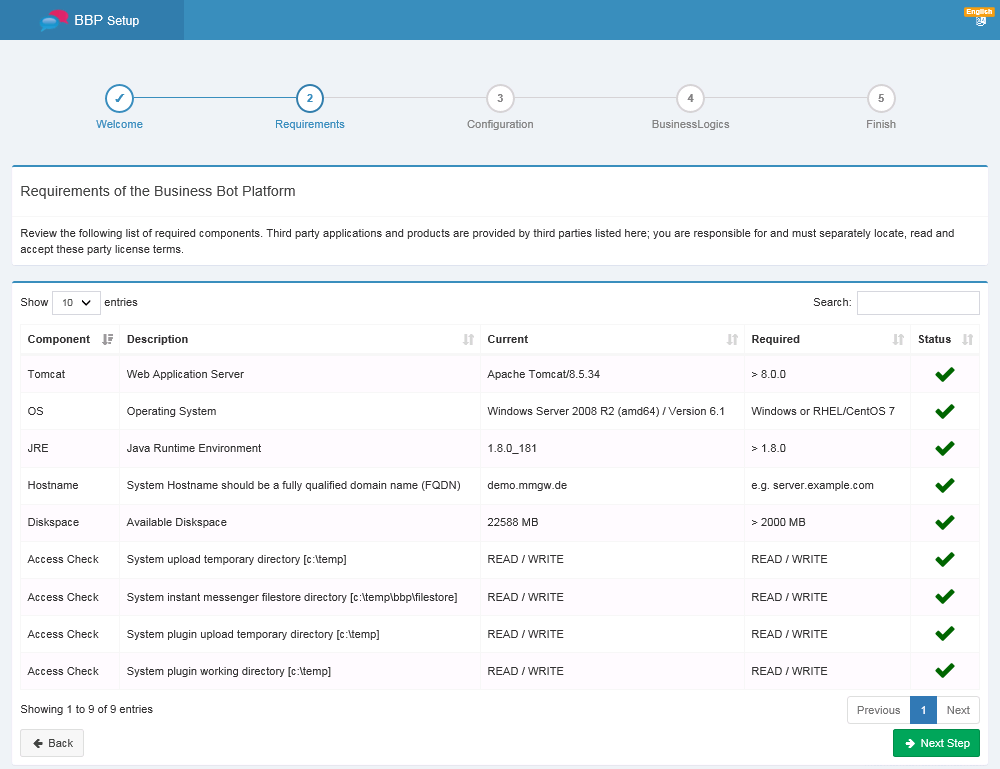
The Web setup performs some system checks to determine if all
prerequisites are fulfilled. If all prerequisites passed, a green check
mark is displayed. Click on Next Step to
continue.
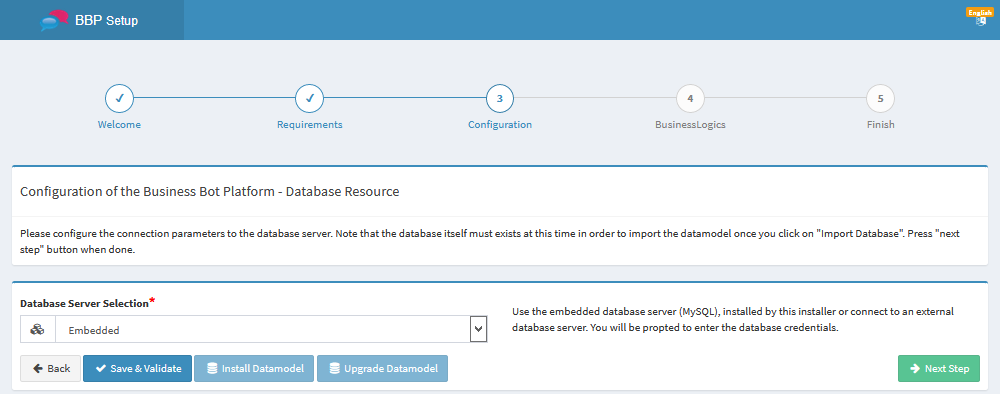
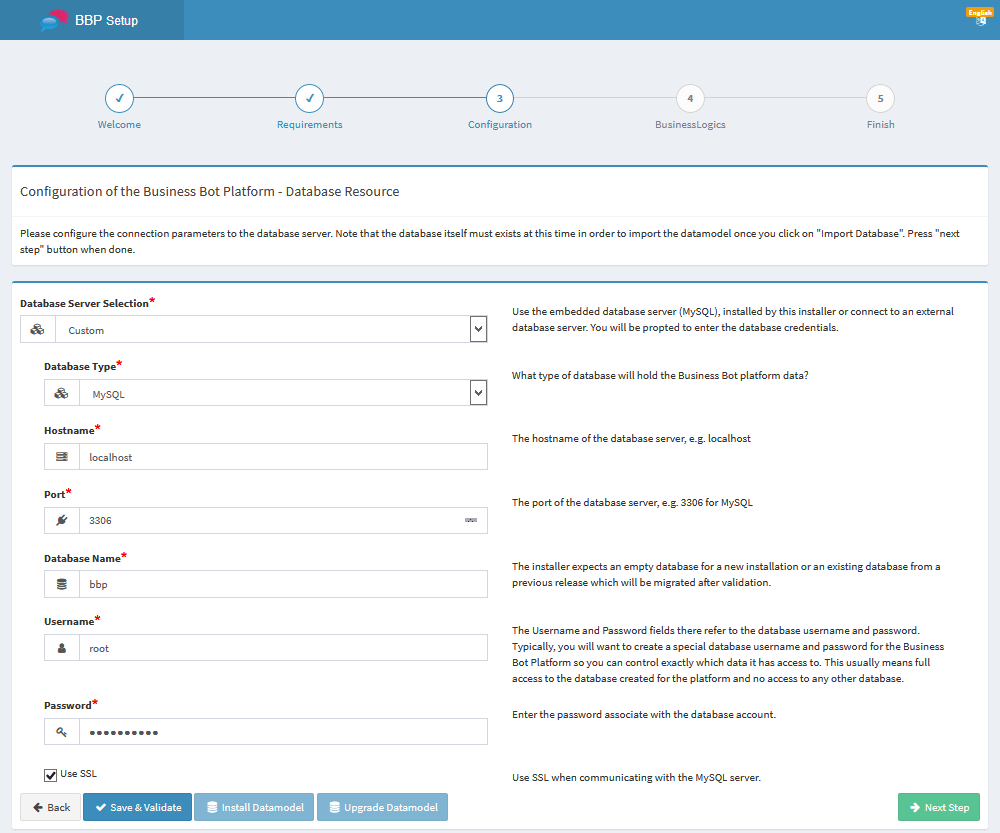
The platform manages all data in a database system. A database resource defines a connection to an SQL database which can contain users and groups as well as chatbot configurations to manage authentication and authorization, monitoring, and user preferences. A database system is provided by default (Option: embedded). However, you have the option of using an external database system (option: custom). A list of supported database systems can be found here.
The web setup expects either:
- an empty database or ...
- a database with content from a previous version
The web setup will recognizes if a database already exists (e.g. from a previous installation)
Specify the appropriate connection parameters and click
Save & Validate to check the connection.
Once the connection to the database was successful, you can import the
data model into the empty database using the
Install Datamodel button or migrate the
existing data model to the current version using the
Upgrade Datamodel button. After
installing or updating the data model, a final validation must be
carried out again using the Save & Validate button. Click on Next Step
to continue.
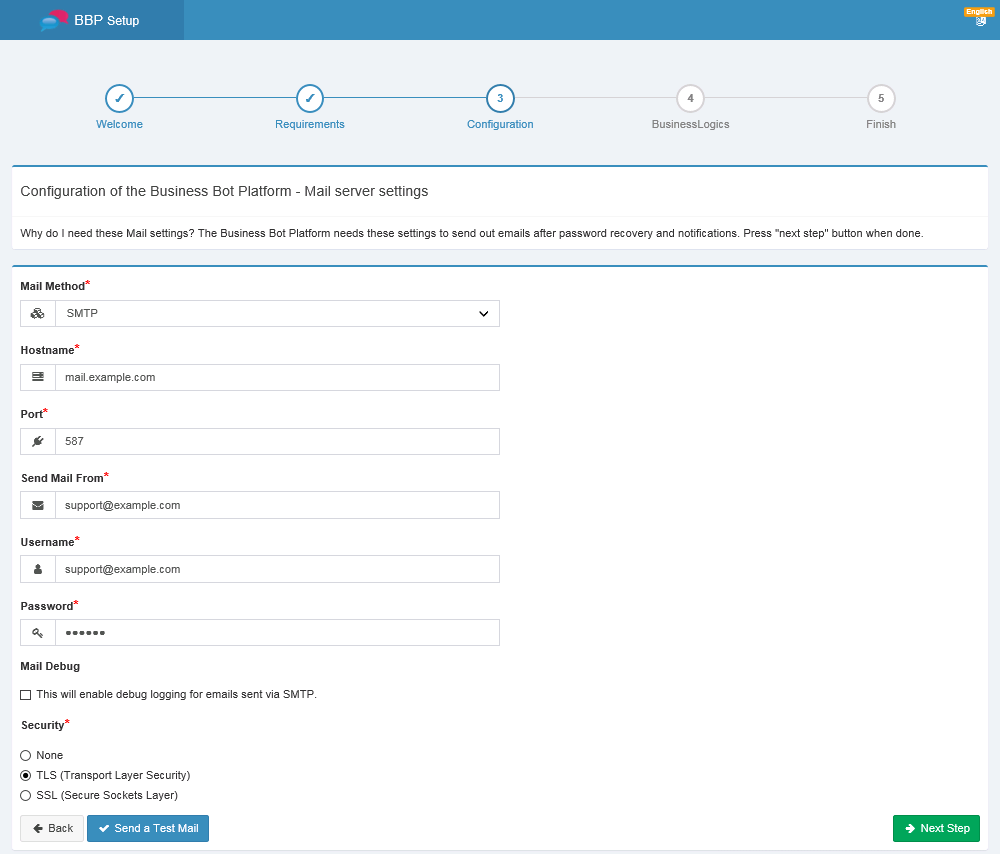
Now provide the connection details to establish a connection with the
e-mail server. E-mails are required by the platform for password
recovery and notifications. If you want to validate the settings, click
Send a Test Mail. Subsequently click Next Step.
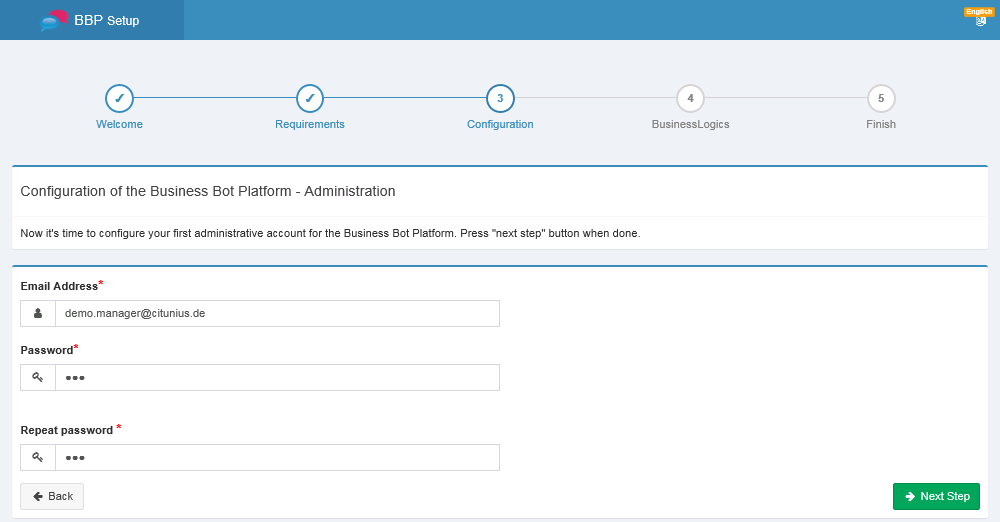
Now configure the user account, which is used to log on to the platform.
Then click on Next Step to continue.
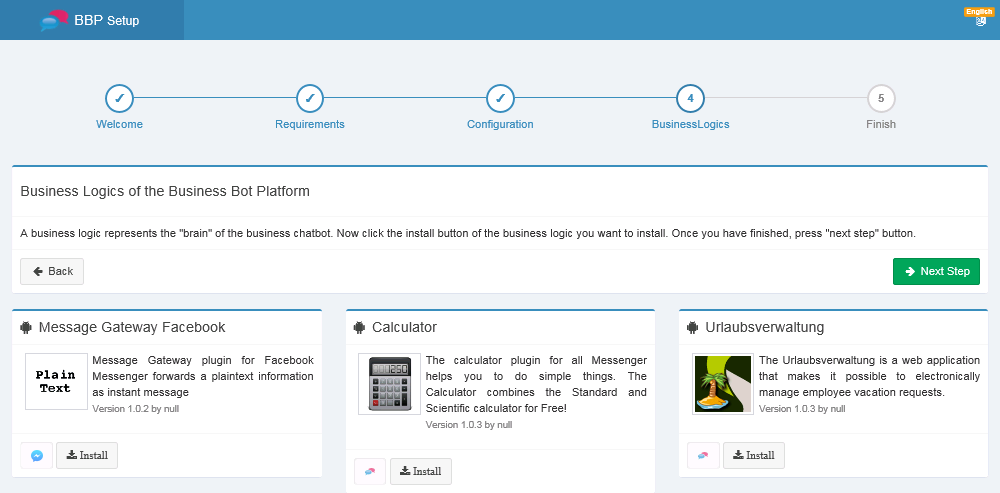
The business logic represents the "intelligence" of the business
chatbot. If you want to use a business logic for your chatbot, click on
Install. Later on, you can choose this
business logic when setting up a new chatbot. Once you have made your
selection, click on Next Step.
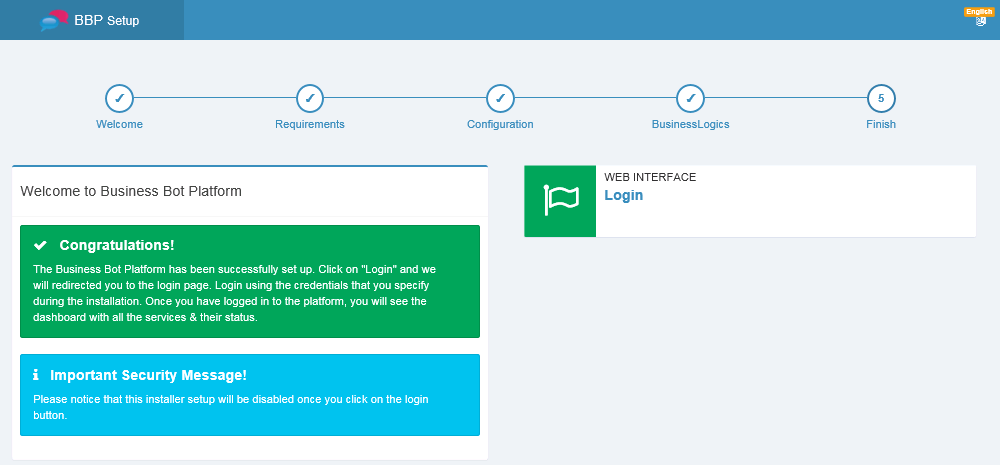
The web setup is now almost complete. As soon as you click on
Login, the web setup is automatically
deactivated. You can now log in to the platform. The installation is now
complete.
You can now start creating an instant messenger account for your chatbot. The steps are described in chapter Instant Messenger Accounts.