Microsoft Teams
The following steps give you an overview of which steps are necessary to create a chatbot for Microsoft teams. Since the user interface of Microsoft Teams and other services are subject to change, there is no claim to completeness or correctness of the following Steps. However, we update the documentation regularly and are looking forward to receiving any information from you.
Microsoft Teams is a collaboration software for companies that combines chats, meetings, notes and attachments.
The Bot-Account of the Business Bot Platform is a full Microsoft Teams client. The platform uses an internal library to interact with to communicate with the Microsoft Teams server. This implementation takes care of the authentication process, receiving messages and sending back replies. This allows you to focus on the business logic of your chatbot application.
- Brief overview: The configuration takes place in several steps:
-
- (BBP) Create new Microsoft Teams bot account on the Business Bot platform
- (Microsoft Bot Framework) Create Microsoft Bot Framework account and create chatbot profiles
- (BBP) Complete Microsoft Teams bot account on the Business Bot Platform
- (Microsoft Teams) Connect and test chatbot with Microsoft Teams
- (Microsoft Teams) Upload an app package to Microsoft Teams
Step 1: (BBP) Create new Microsoft Teams bot account on the Business Bot platform
To create a new Microsoft Teams account, follow these steps:
- First, log on to the Business Bot Platform
-
Select
Bot Administration→Instant Messenger Accounts→Create Bot Account. The following data is required to create the bot account:Field Example value Name: MyMsTeamsBotAccount Description : BotAccount for Dept. Z Instant Messenger: BotFramework -
The bot account has now been created and will need to be configured with the Instant Messenger account information at a later stage.
- Copy the Webhook URL of this account, which is used for incoming connections.
The creation of this account is now complete and will be configured later.
Step 2: (Microsoft Bot Framework) Create Microsoft Bot Framework account and create chatbot profiles
Since Microsoft does not provide a direct interface for chatbots, a Microsoft Bot Framework account is required to communicate with Teams. Therefore you have to create a new account at Microsoft Bot Framework (if not already existing).
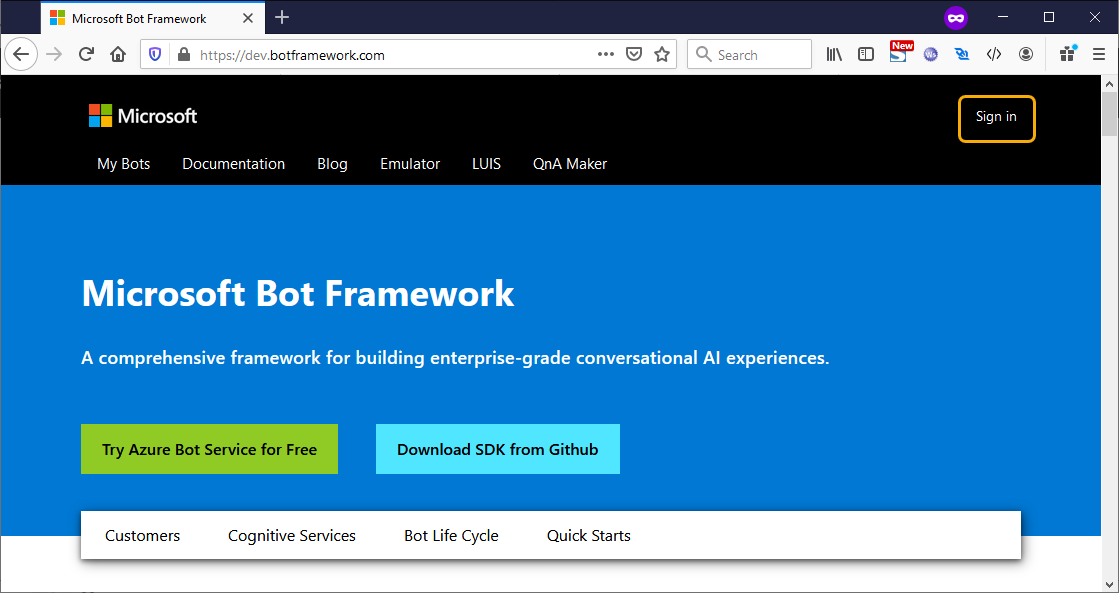
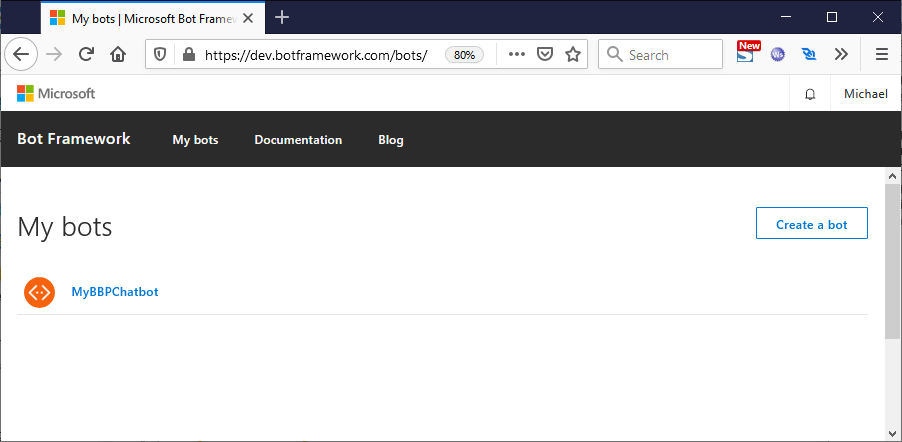
- Once you have created the account, go to https://dev.botframework.com/bots/ and log in.
- Now navigate your browser to https://dev.botframework.com/bots/new to create a new chatbot profile. Now enter the required data:
-
- Display name: Bot’s name in channels and directories (max. 35 characters)
- Bot handle: Used in the URL for the BBP Chatbot. Alphanumeric and underscore only. Cannot be changed once registered.
- Long description: Bot’s long description which may appear in channels and directories
- Messaging endpoint: The Webhook URL of the BBP messenger account
- app ID: The Microsoft Application ID 6: Owner: The owner of this chatbot profile

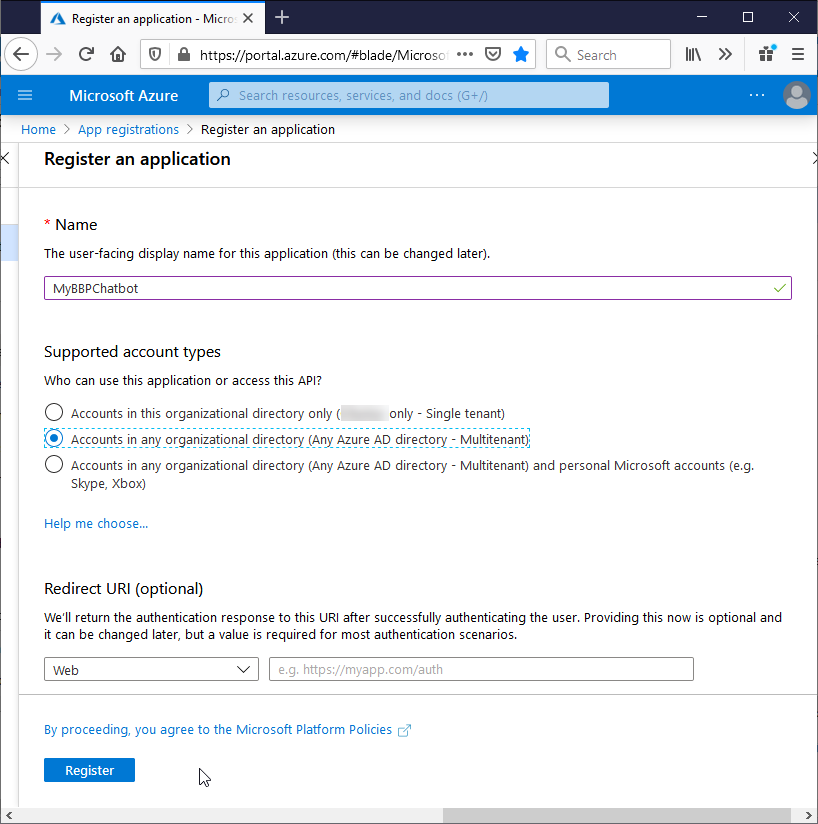
Click on Create Microsoft App ID and password button to create the credentials for this chatbot profile. You will now be redirected to Microsoft Azure - App Registration in a new window. Now, create a new app via New registration.

- Enter the following data:
-
- Name: The user-facing display name for this application (this can be changed later).
- Supported account types: Who can use this application or access this API?
Once you have completed the registration, you will find the Application Id on page Overview.
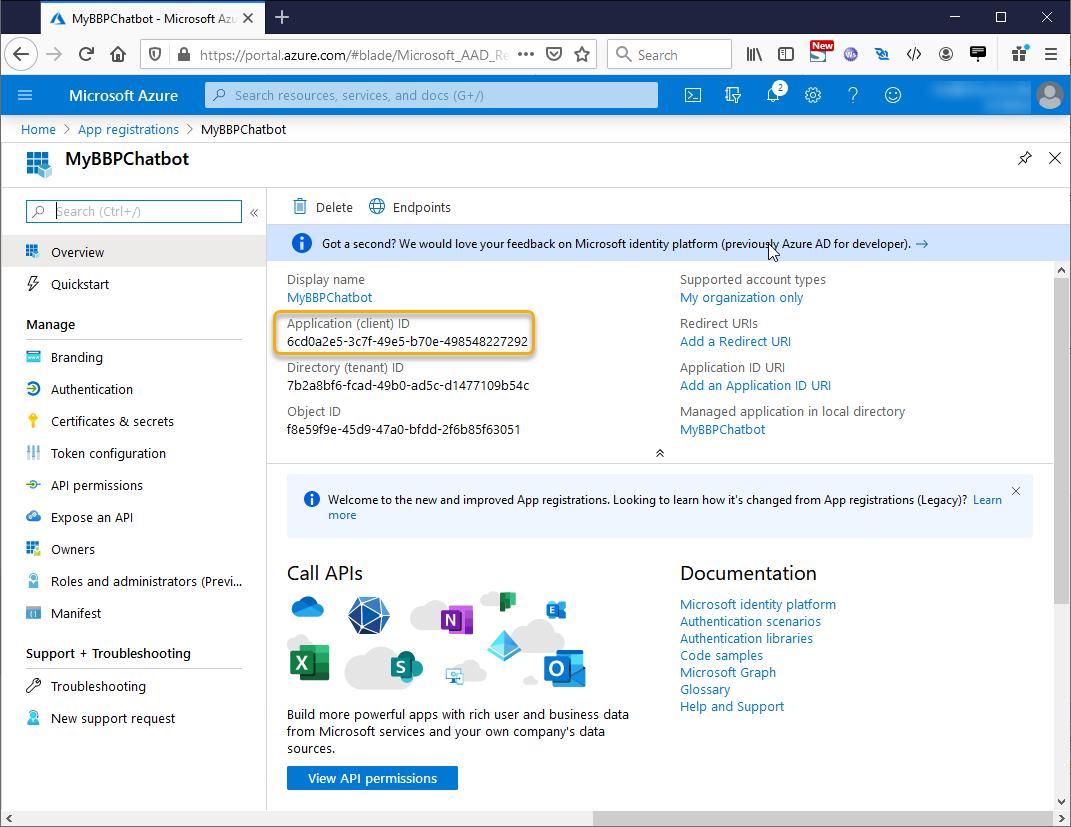
Now copy the Application Id and switch back to the Bot-Framework website. There you now enter the Application Id in field Paste your app ID below to continue and click on Register button.
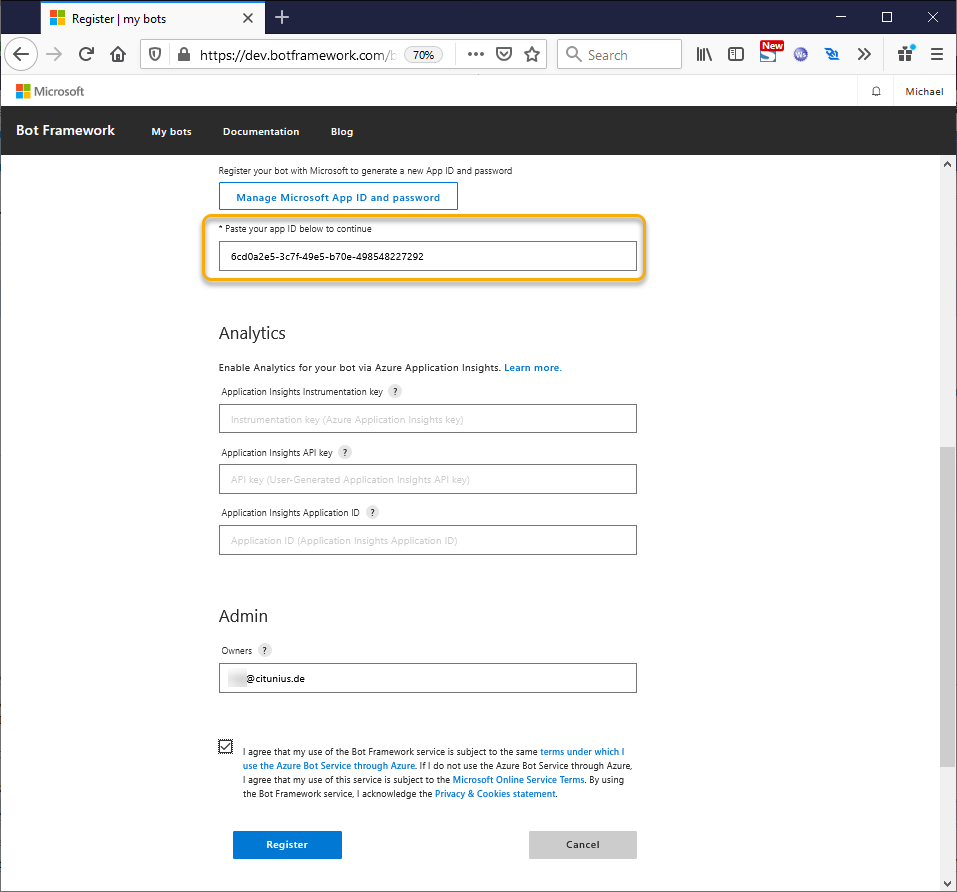
The bot profile has now been created and appears on the My bots page.
Now start adding the channel feature Configure Microsoft Teams Channel. Therefore, click on the Microsoft Teams Icon and finally on Save and Agree. You should now see Microsoft Teams and WebChat under the Channels page.
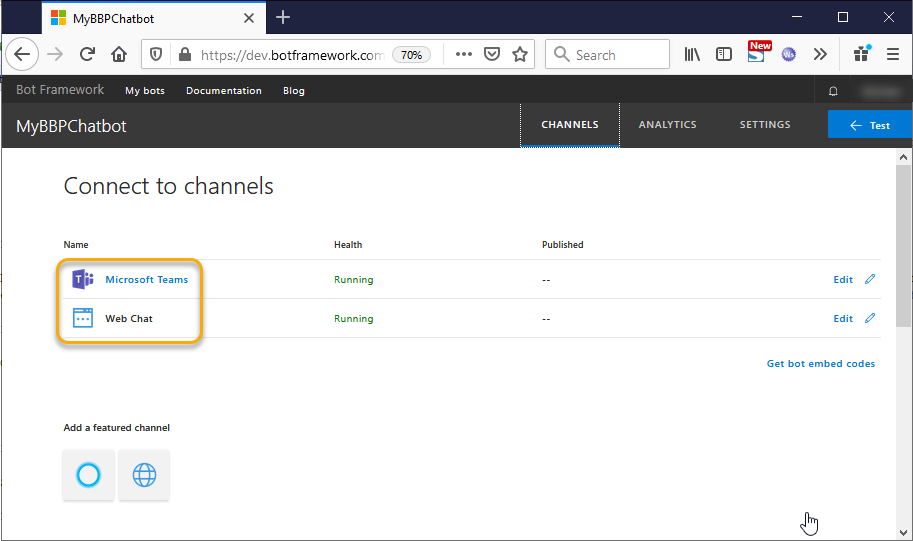
The configuration for Microsoft Bot Framework is now complete.
Step 3: (BBP) Complete Microsoft Teams bot account on the Business Bot Platform
Once you have created the chatbot profile with the Microsoft Bot Framework, the necessary account data is available for coupling with the Business Bot Platform. Now the account information of the Instant Messenger must be configured.
- Log in again to the Business Bot Platform
- Select
Bot Administration→Instant Messenger Accounts→Bot Account -
Click on the
Settingsicon and modify some of the following parameters:Fields Description Example value Messenger.WebhookId This Webhook ID is unique and is generated by the Business Bot platform (e.g. https://demo.bbp.local/bbp/webhook/ ) 42da2023-0187-4ab7-94ec-c843153bb36a BotFramework.TenantId Microsoft BotFramework - Tenant Id 60a2cde5-3c7f-49e5-b70e-454829827292 BotFramework.MsAppId Microsoft BotFramework - Application Id 60a2cde5-3c7f-49e5-b70e-454829827292 BotFramework.MsAppPassword Microsoft BotFramework - Application password secret BotFramework.Bot.Id Microsoft BotFramework - Bot Id (Starts with 28:) 28:d8125bc1-7192-4bdc-b469-9ba57b948d5f= BotFramework.Bot.Name Microsoft BotFramework - Bot Name MyBBPChatbot BotFramework.Bot.Locale Microsoft BotFramework - Bot Locale (e.g. en-US) en-US or de-DE BotFramework.Bot.AccessToken.Url Microsoft BotFramework - Request a new access token https://login.microsoftonline.com/botframework.com/oauth2/v2.0/token BotFramework.Bot.Conversation.Url Microsoft BotFramework - Start a new conversation https://smba.trafficmanager.net/de/v3/conversations BotFramework.Bot.Service.Url Microsoft BotFramework - Send a non-reply message to the User https://smba.trafficmanager.net/ BotFramework.Scope Microsoft BotFramework - OAuth scope https://api.botframework.com/.default
The configuration is now complete.
Step 4: (Microsoft Teams) Connect and test chatbot with Microsoft Teams
Finally, the newly created chatbot profile of Bot Framework is connected to Microsoft Teams.
-
Navigate the browser to the https://teams.microsoft.com/ web page and log in. If you don’t have a Teams account yet, register now.
-
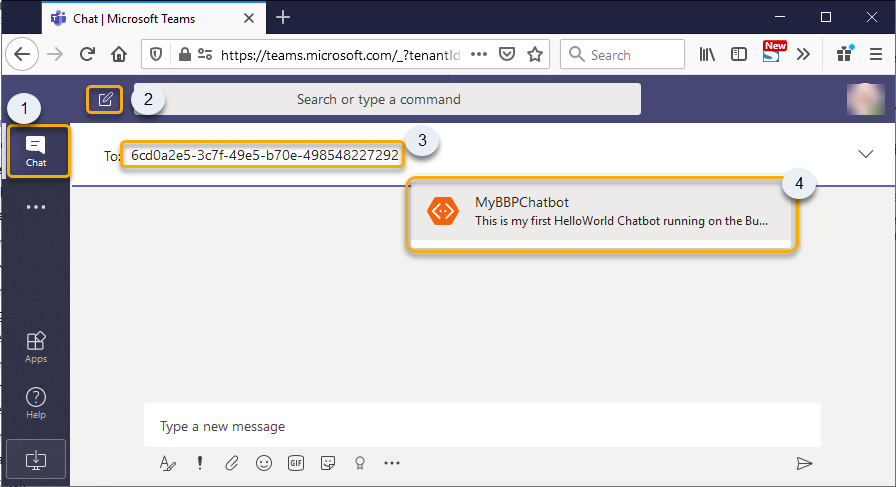
Go to
Chats→New Chatand enter the application name (e.g.MyBBPCHatbotor theApplication Id. You will now see the created chatbot as a suggestion.
- The chat panel now displays a chat with the chatbot. Just send a text message
BDAC(Bot Data Auto Complete) to complete the chatbot data. This will complete required bot data in the Messenger account of the Business Bot platform.
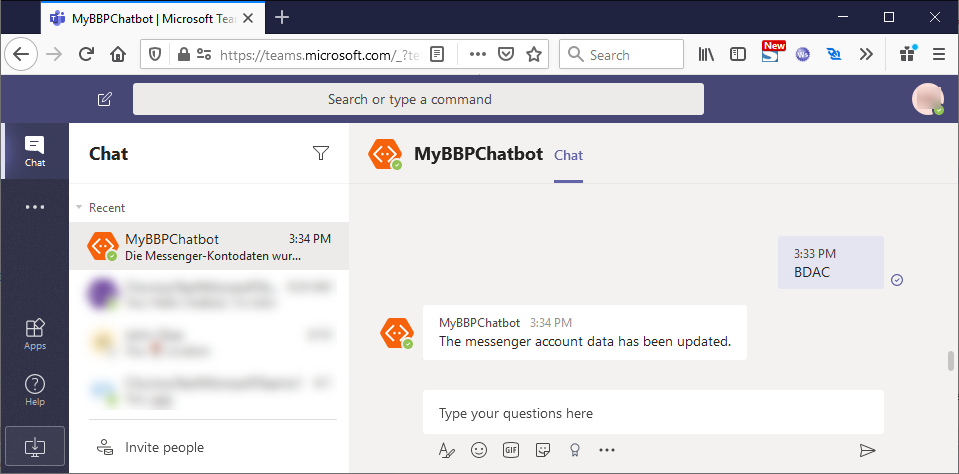
- Just send a text message to the chatbot to check the answer of the BBP chatbot.
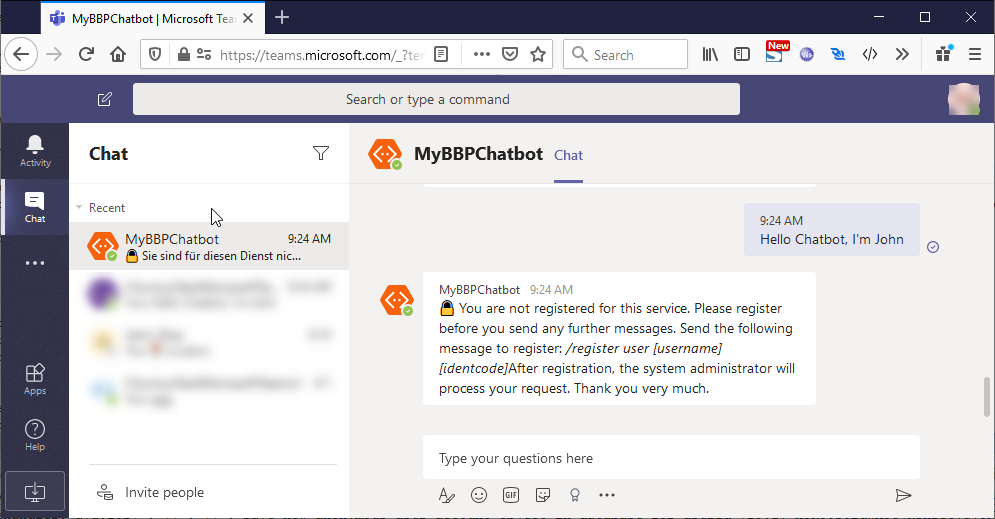
Since the user has not yet been added to the access list of the business logic, the user is not authorized to communicate with the business logic. This blocks all messages to the chatbot or business logic.
The configuration is now complete.
The Messenger account for the chatbot is now configured and will be used later when creating a chatbot instance for Microsoft Teams.
Step 5: (Microsoft Teams) Upload an app package to Microsoft Teams
To test the chatbot in Microsoft Teams, you need to upload the app definition in Teams. Uploading adds the app to the team you select, and you and your team members can interact with it like end users.
Create the bot application manifest zip file
- The application manifest is a zip folder of a few files:
-
coloricon.png- a 96px by 96px png icon of your botoutlineicon.png- a 20px by 20px png icon of your botmanifest.json- a JSON file that describes your bot
Below is an example of a manifest.json file. You should copy this content and adapt it to your organization. Use the Microsoft App ID you obtained from the previous steps to fill in both values for id and botId. However, you will not use the Microsoft App password in this file. All information contained in this file is specific to your deployment of the chatbot using the Business Bot Platform.
1 2 3 4 5 6 7 8 9 10 11 12 13 14 15 16 17 18 19 20 21 22 23 24 25 26 27 28 29 30 31 32 33 34 35 36 37 38 39 40 41 42 43 44 45 46 47 48 49 50 51 52 53 54 55 56 57 58 59 60 61 62 63 64 65 66 67 68 69 70 71 72 73 | { "$schema": "https://developer.microsoft.com/json-schemas/teams/v1.5/MicrosoftTeams.schema.json", "manifestVersion": "1.5", "version": "1.0.0", "id": "YOUR-MICROSOFT-APP-ID", "packageName": "de.citunius.myapp", "devicePermissions" : [ "geolocation", "media" ], "developer": { "name": "Citunius GmbH", "websiteUrl": "https://www.example.com/", "privacyUrl": "https://www.example.com/privacy", "termsOfUseUrl": "https://www.example.com/app-tos" }, "localizationInfo": { "defaultLanguageTag": "en-us", "additionalLanguages": [ { "languageTag": "es-es", "file": "en-us.json" } ] }, "name": { "short": "MyBBPChatbot", "full": "Citunius Business Bot Platform" }, "description": { "short": "Short description of your app", "full": "Full description of your app" }, "icons": { "outline": "outlineicon.png", "color": "coloricon.png" }, "accentColor": "#FFFFED", "bots": [ { "botId": "YOUR-MICROSOFT-APP-ID-REGISTERED-WITH-BOT-FRAMEWORK", "needsChannelSelector": false, "isNotificationOnly": false, "scopes": [ "team", "personal", "groupchat" ], "supportsFiles": true, "commandLists": [ { "scopes": [ "team", "groupchat" ], "commands": [ { "title": "Command 1", "description": "Description of Command 1" }, { "title": "Command N", "description": "Description of Command N" } ] }, { "scopes": [ "personal", "groupchat" ], "commands": [ { "title": "Personal command 1", "description": "Description of Personal command 1" }, { "title": "Personal command N", "description": "Description of Personal command N" } ] } ] } ] } |
Refer to the official documentation for more information about which parameters can be set in the manifest file.
If you want to know which business logic commands are supported by your chatbot, you can specify them in the commandLists array. This allows Microsoft teams to display better help information, but it does not allow you to dynamically update this information when new commands are added or changed in the business logic. Because of this limitation, it is probably best to define only basic commands (such as help).
If you want the chatbot to send different media types (e.g. audio, video, document files) to users, you need to set the supportsFiles parameter in the manifest.json to the value true. Files (except images) are displayed to the user as a card object, which means that files are hosted by the BBP FileStore. Make sure that value of parameter System.InstantMessenger.FileStore.WebAddress in the configuration file bbp.properties points to the BBP FileStore accessible from the Internet.
Remarks
Make sure that id and botId are the same values!
Zip all these files into the root directory of a zip file:
1 | $ zip manifest.zip manifest.json outlineicon.png coloricon.png |
Important
Make sure that the files themselves are located in the root directory of the Zip file and not in a directory in the root directory of the Zip file!
Sideload the application manifest into Microsoft Teams
- Remarks
-
- You will need to sideload the application manifest into all teams that use the business logic.
- You will need to have administrator privileges in your Microsoft Teams tenant to sideload application manifests. If you do not see the Upload a custom app option then you do not have the correct permissions to sideload a bot application.
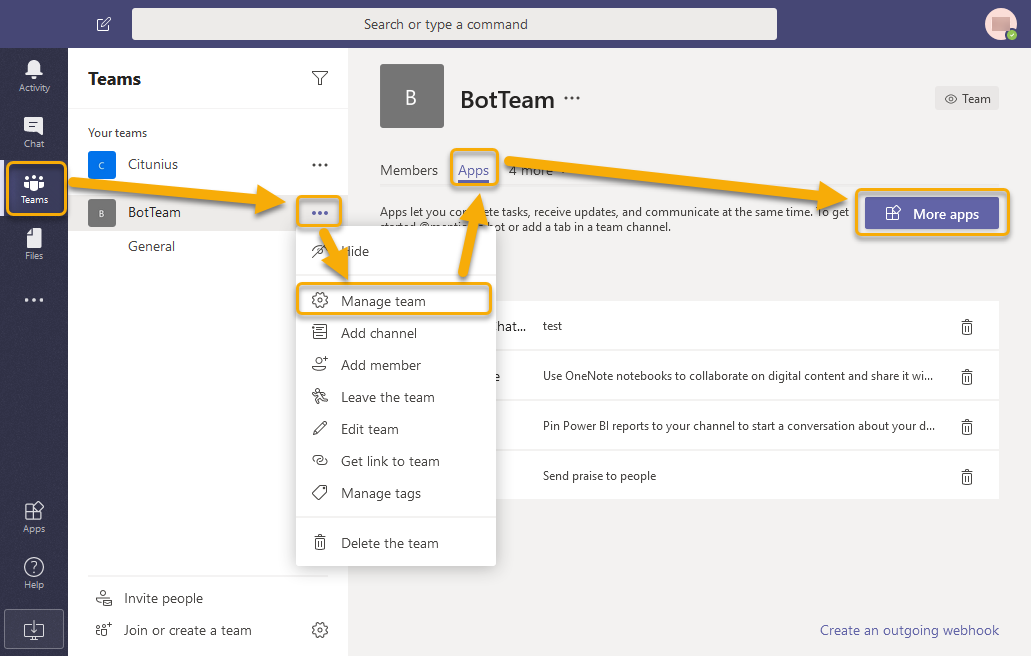
- Go to the Teams tab on the left column, and click a team you wish to sideload to
- Click the three horizontal dots next to the team name in the channel list
-
Select Manage team, and go to the Apps tab, then More Apps in the main pane.
-
At the bottom right of the main pane, click the Upload a custom app link
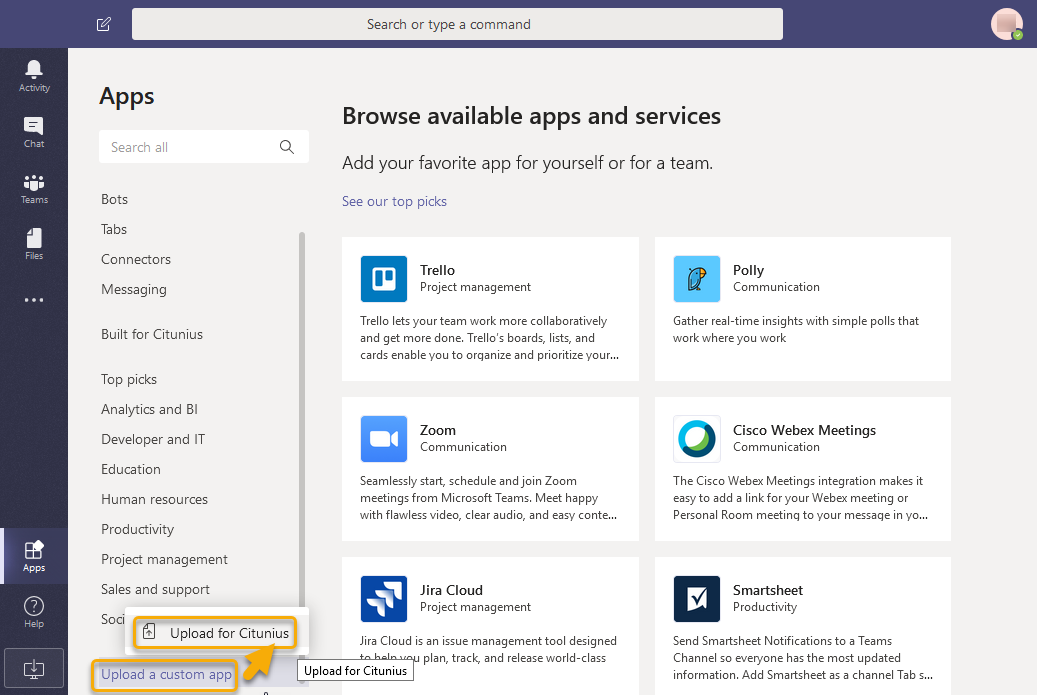
-
Upload the application manifest file you created previously
Please see the official documentation for more information on how to sideload an app package to Microsoft Teams.